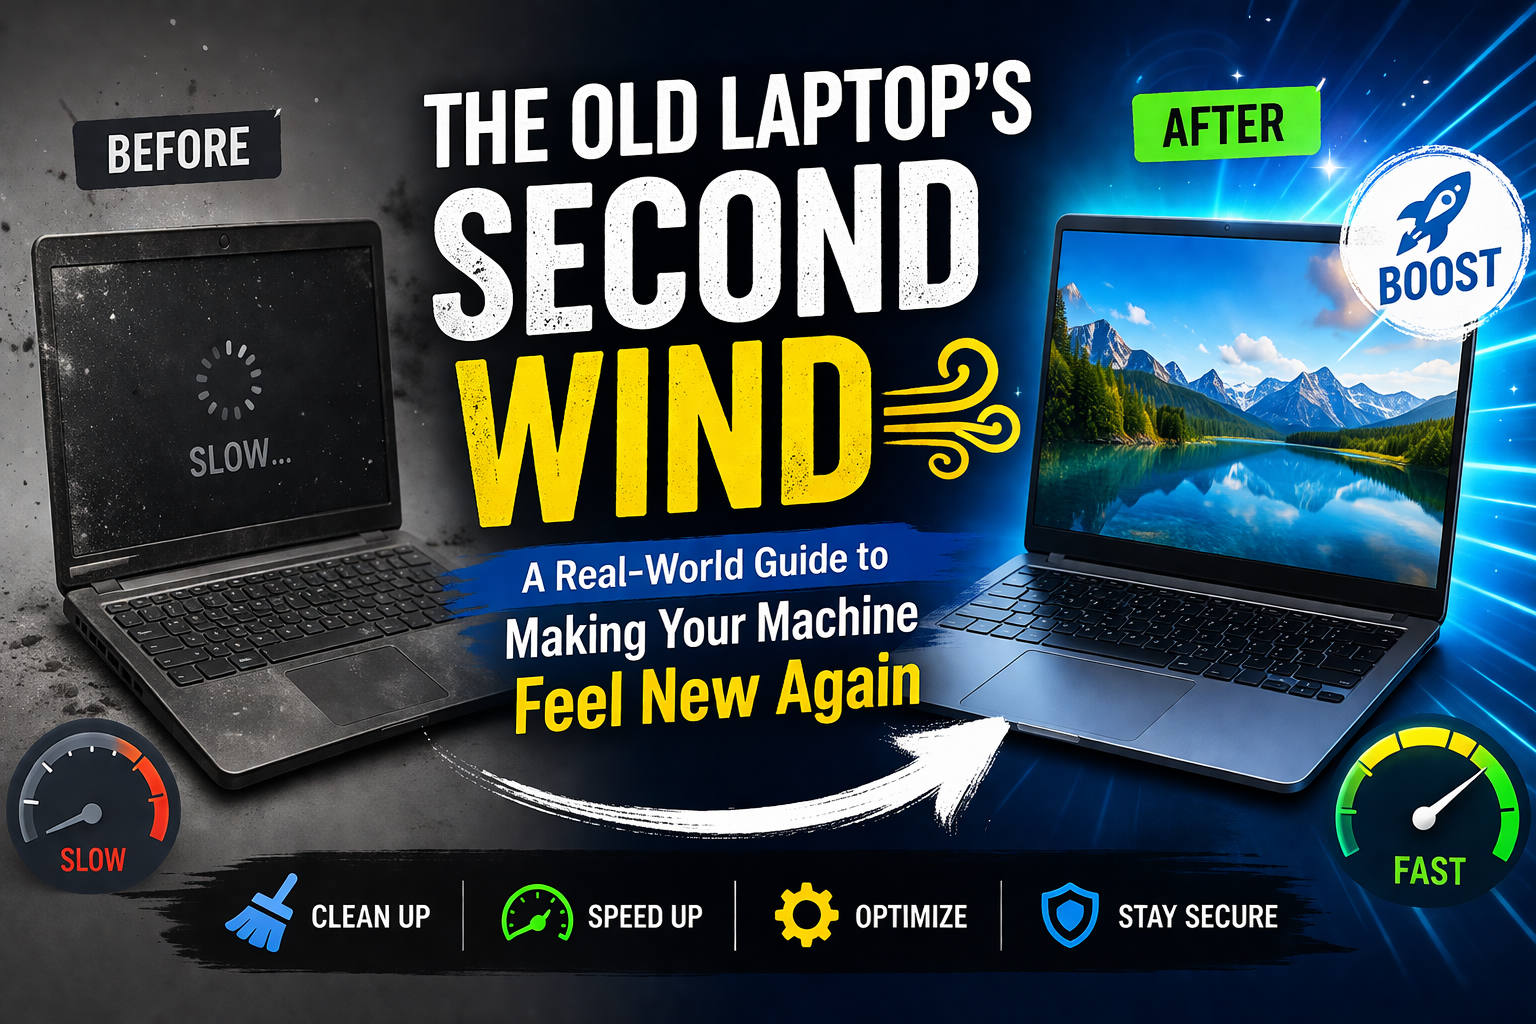
The Old Laptop’s Second Wind: A Real-World Guide to Making Your Machine Feel New Again your laptop isn’t getting slower because it hates you. It’s not plotting obsolescence from some dark corner of the motherboard. The truth is much simpler, and far more fixable. Over months and years of use, we pile on digital clutter like a hoarder filling a spare bedroom. We install programs we use once, forget to clean up temporary files, let startup items multiply like rabbits, and never—ever—think about the physical dust choking the cooling fan.
I’ve resurrected laptops that took fifteen minutes to open a browser. I’ve turned whining, overheating machines back into silent, snappy workhorses. And I’m going to walk you through exactly how to do the same. No magic software. No registry snake oil. Just the stuff that actually works, explained by someone who has opened up more laptops than I care to remember.
Before we dive in, a quick reality check: if your laptop is ten years old with a mechanical hard drive and 2GB of RAM, you won’t turn it into a gaming rig. But you can make it usable again. And if your laptop is only three or four years old but feels sluggish, you’ll be shocked at how much speed you’ve been leaving on the table.
Let’s get to work.
Part One: The Low-Hanging Fruit (Stuff You Can Do in Ten Minutes)
Most slowdowns come from the same handful of culprits. Let’s knock these out first. You don’t need any tools. You don’t need to be a tech wizard. You just need five minutes and a bit of patience.
1. Restart. Not Shut Down. Restart.
I know, I know. You’ve heard this a million times. But here’s why it matters: Windows (and macOS, to a lesser degree) has a feature called “Fast Startup” that technically doesn’t fully shut down your system when you click “Shut Down.” It hibernates the kernel, which keeps old drivers and system states stuck in memory. Over weeks, this accumulates into genuine sluggishness.
When you click Restart, Windows actually flushes everything—the kernel, the drivers, the accumulated crud—and loads a fresh copy. Do this once a week. Set a calendar reminder if you have to. I promise you’ll notice the difference, especially on older machines.
2. Clean Out Your Browser’s Arteries
Here’s a secret that browser companies don’t advertise: your web browser is probably the single biggest source of laptop slowness, even when you’re not actively using it. Why? Because browsers love to run in the background. They keep extensions alive, pre-load tabs, and store massive caches that eventually become more labyrinth than library.
Open your browser settings. Find the option to clear browsing data. Select all time. Check these boxes:
- Cached images and files
- Cookies and other site data (be warned: you’ll have to log back into websites)
- Browsing history (optional, but helpful)
Don’t bother with saved passwords—uncheck that.
While you’re there, click into your extensions or add-ons manager. Look at the list. Do you really need six different price-trackers, three grammar checkers, two ad blockers, and that one extension you installed in 2019 to change your cursor into a cat? Disable or remove everything you haven’t used in the past month. I usually keep one ad blocker (uBlock Origin) and maybe a password manager. Everything else is dead weight.
3. The Visual Effects Trap
Both Windows and macOS come with a lot of eye candy: animations, transparency effects, shadows, fade-ins, and slide-outs. They look pretty. They also waste CPU cycles and GPU memory. On a modern high-end laptop, you won’t notice. On anything with integrated graphics or more than three years old, you will.
On Windows: Type “Adjust the appearance and performance of Windows” into the search bar. Click it. In the Performance Options window, select Adjust for best performance. This will turn off everything. The interface will look like Windows 2000, but it will feel lightning fast. If you can’t stand the appearance, go through the list and manually uncheck things like “Animate windows when minimizing and maximizing,” “Fade or slide menus into view,” and “Slide taskbar buttons.” Keep “Smooth edges of screen fonts” checked so your text doesn’t look like garbage.
On macOS: Go to System Settings > Accessibility > Display. Turn on “Reduce motion” and “Reduce transparency.” The difference is subtle but real, especially on older MacBooks.
Part Two: The Stuff You’ve Been Ignoring (Twenty to Thirty Minutes)
Okay, you’ve done the quick fixes. The laptop feels a little better, but it’s still not fast. Now we go deeper. This is where most people give up and buy a new laptop. Don’t. These next steps are easy if you just follow them one by one.
4. Hunt Down Startup Programs
When you turn on your laptop, a whole parade of software tries to launch itself. Some of it is useful (antivirus, touchpad drivers), but most of it is garbage. Spotify wants to check for updates. Adobe wants to phone home. Your printer software wants to remind you that you’re out of magenta. And every single one of these eats up boot time and memory.
Windows: Open Task Manager (press Ctrl + Shift + Esc). Click the “Startup” tab. You’ll see a list of programs and their “Startup impact” (Low, Medium, High). Right-click anything that isn’t essential (like your antivirus or graphics driver utility) and select Disable. When in doubt, disable it. You can always re-enable it later if something breaks. Realistically, you should have no more than five to seven startup items.
macOS: Go to System Settings > General > Login Items. You’ll see two lists: “Open at Login” (apps that launch when you log in) and “Allow in Background” (processes that run invisibly). Remove anything you don’t recognize or don’t use daily. For the “Allow in Background” list, toggle off anything that isn’t a critical system component—Spotify, Adobe Creative Cloud, Zoom, etc. These can still run when you open them manually.
5. The Disk Cleanup You’ve Never Actually Done
Windows has a built-in tool called Disk Cleanup that most people ignore because it sounds boring. It’s not boring. It’s a goldmine of forgotten gigabytes.
Search for “Disk Cleanup” and run it. Select your C: drive. The tool will scan for temporary files, old Windows update caches, downloaded program files, and more. Check every box except maybe “Downloads” if you need those files. Pay special attention to “Previous Windows installation(s)”—if you’ve ever upgraded from Windows 10 to 11 or from one version to another, there could be 20, 30, even 50 gigabytes of old system files sitting there. You don’t need them. Delete them.
After Disk Cleanup finishes, click the “Clean up system files” button and run it again. That’s where the really big stuff lives.
On macOS, open Finder, click Go > Go to Folder, type ~/Library/Caches, and delete everything inside the folders you see (not the folders themselves, just their contents). This sounds scary, but macOS will recreate necessary caches next time you open an app. It’s safe.
6. Uninstall the Crapware
Open your list of installed programs and be ruthless. Go to Settings > Apps > Installed apps (Windows) or Applications folder (macOS). Sort by size or date installed. Look for anything you don’t recognize. That program called “WildTangent Games”? Gone. “McAfee Web Advisor”? Gone. “Bonjour” (unless you use Apple devices on a network)? Gone. “Java” (unless you have a specific old app that needs it)? Gone.
Be especially suspicious of “tools” that claim to speed up your PC, like “PC Optimizer Pro” or “Driver Booster.” These are usually malware or adware themselves. They cause the very problems they promise to fix.
While you’re at it, uninstall programs you simply don’t use anymore. Remember when you installed that video editor to make one birthday montage two years ago? It’s still there, still loading background services, still taking up space. Get rid of it.
Part Three: The Stuff That Actually Requires Effort (One to Two Hours)
This is where the transformation happens. The earlier steps might give you a 20-30% speed boost. These next steps can double your laptop’s performance—or more. But they require a little courage.
7. Replace Your Hard Drive with an SSD
I cannot stress this enough: if your laptop still has a mechanical hard drive (the kind with spinning platters), swapping it for a solid-state drive (SSD) is the single biggest upgrade you can make. It’s not close. It’s like replacing a horse-drawn carriage with a motorcycle.
How do you know if you have a mechanical drive? Open Task Manager (Ctrl + Shift + Esc), go to the Performance tab, and look at the Disk section. If it says “HDD” or anything with a spinning disk icon, you have a mechanical drive. If it says “SSD,” you’re good.
A 512GB or 1TB SATA SSD costs about $40-60 these days. That’s less than a tank of gas. Installation varies by laptop, but on most machines it’s simple: unscrew the bottom panel, locate the hard drive (usually a silver rectangle about 2.5 inches wide), unscrew it, unplug it, plug in the new SSD, screw it back in. You’ll need to reinstall Windows or macOS. Or you can clone your existing drive using free software like Macrium Reflect or Clonezilla.
I’ve done this on laptops that took three minutes to boot. After the SSD swap, they boot in fifteen seconds. Applications open instantly. The whole machine feels like it was replaced. If you only do one thing from this entire guide, do this.
8. Add More RAM (If You Can)
RAM is your laptop’s short-term memory. If you run out, your laptop starts using your hard drive as overflow memory, which is painfully slow. On an SSD, it’s less painful, but still slow.
How much RAM do you need? Check your usage. Open Task Manager (Windows) or Activity Monitor (macOS) and look at memory usage while doing your normal tasks. If you’re consistently over 80-90% usage, more RAM will help.
Most laptops today should have at least 8GB. For comfortable browsing, office work, and light multitasking, 16GB is the sweet spot. Gaming or video editing? 32GB.
Before buying RAM, check if your laptop allows upgrades. Some modern laptops (especially thin ones and MacBooks) have soldered RAM that cannot be changed. For those, you’re stuck. But many business-class and gaming laptops have open slots. Crucial’s website has a system scanner that tells you exactly what RAM you need and whether upgrades are possible.
9. Open It Up and Clean Out the Dust
Here’s something most software guides won’t mention: your laptop is probably chocked full of dust. That dust blocks the cooling fan and heatsinks. When the laptop gets hot, the CPU and GPU slow themselves down (thermal throttling) to prevent damage. You lose performance even though the components are perfectly capable.
Fixing this takes a screwdriver, a can of compressed air, and ten minutes. Turn off the laptop. Unscrew the bottom panel. Locate the fan(s) – small circular devices with blades. You’ll see clumps of dust blocking the exhaust vents and clinging to the fan blades.
Hold the fan still with a toothpick or a small tool (spinning it too fast with compressed air can damage it) and blast short bursts of air from the can. Clean the heatsink fins – those metal grilles near the fan. Put the panel back on. Your laptop will run cooler, which means it will run faster for longer.
If you’re uncomfortable opening the laptop, many repair shops will do this for $20-30. It’s worth it.
Part Four: Preventative Maintenance (What to Do Every Month)
You’ve done the hard work. Now let’s keep it that way. Speed doesn’t fade overnight; it accumulates like junk mail. If you spend five minutes a month on these tasks, your laptop will stay fast for years.
10. Monitor Your Storage Space
An SSD that’s more than 85% full will slow down dramatically. SSDs need empty space to manage wear leveling and garbage collection. Windows itself needs room for temporary files, updates, and the page file.
Keep at least 20% of your drive free. If you’re down to 10%, it’s time to delete files. Use WinDirStat (Windows) or DaisyDisk (macOS) to visualize what’s taking up space. You’ll be amazed: old iPhone backups, downloaded installer files, giant log files from games, multiple copies of the same photos. Clean house.
11. Turn Off Notifications for Apps That Don’t Matter
Every notification your laptop handles costs a tiny sliver of CPU and memory. Multiply that by twenty apps, each checking for updates, showing popups, and refreshing badges, and you’ve got a constant background drain.
On Windows: Settings > System > Notifications. Turn off notifications for every app except the ones you actually care about (maybe calendar, messages, and your email client).
On macOS: System Settings > Notifications. Go down the list and set everything except critical apps to “None” or turn off “Allow notifications.”
Your laptop will feel snappier, and you’ll be less distracted. Win-win.
12. Use the Right Browser and Keep Tabs in Check
I’ve watched people complain about a slow laptop while having forty-seven Chrome tabs open. Chrome is a memory hog. Each tab, each extension, each little animated ad consumes RAM. Forty-seven tabs could be using 8GB of RAM all by themselves.
Switch to a lighter browser if you’re on older hardware. Firefox uses less RAM than Chrome. Brave is even leaner. Microsoft Edge (yes, really) has excellent performance on Windows.
Better yet, change your habits. Use bookmarks. Use tab management extensions like OneTab or The Great Suspender (which suspends inactive tabs). Close tabs when you’re done with them. It sounds obvious, but most people treat tabs like a to-do list that never gets cleared.
Part Five: When to Give Up (And When to Keep Going)
I’m a big believer in fixing things rather than replacing them. But there does come a point where no amount of tweaking will help. Let me be straight with you.
You should give up and buy a new laptop if:
- Your laptop is more than eight years old, has a mechanical hard drive, and 4GB or less of non-upgradeable RAM.
- The screen is broken or the battery lasts less than an hour (and a replacement battery costs half the price of a new laptop).
- You’ve already replaced the SSD, maxed out the RAM, cleaned the dust, and it still struggles with basic tasks like web browsing and word processing. That’s just the CPU being too old.
In every other case, keep going. I’ve seen Core 2 Duo laptops from 2009 become perfectly usable for writing, email, and YouTube after an SSD and a clean install of Linux. I’ve seen 2015 MacBooks run like new after a fresh Windows installation. These machines aren’t dead. They’re just neglected.
Final Thoughts: Your Laptop Is Worth Saving
The industry wants you to believe that laptops are disposable. That after three years, you need to spend another thousand dollars. But that’s not true. Most of the time, “slowness” is just digital clutter, dust, and outdated habits.
You’ve now got a roadmap. Start with the five-minute fixes. Work your way down. When you replace that spinning hard drive with an SSD, you’ll feel genuine joy—the kind that comes from taking something broken and making it work again. That feeling is better than any unboxing of a new machine.
1 thought on “The Old Laptop’s Second Wind: A Real-World Guide to Making Your Machine Feel New Again”